Saturday, September 24, 2011

Bee Equipment Has Arrived

Well, after reading several beekeeping books and Linda's Bees Blog, I took the plunge and ordered our bee equipment based on her recommendations from Brushy Mountain Bee Farm.  All medium 8-Frame equipment and enough for 2 hives, 5 supers tall.  The only difference is that I ordered top and bottom grooved frames, since I plan on going with the minimalist approach of just using a starter strip of wax, rather than using an entire wax foundation.  This allows the bees to build the size comb cells that they want to build, rather than have us dictate the size to the bees. Allowing the bees to build smaller brood cells is supposed to reduce the varroa (bee mites) problem.

Now let me back track a bit for those of you not familiar with beekeeping.

Supers are the levels of the hive.  Traditionally, they use deep supers for the lower brood sections.  Then there are medium (depth) supers and shallow supers for honey.  This is great, but makes it hard to interchange parts, which ultimately means you have to have more spare equipment on hand.  By using all medium supers, this means less overall cost.

Here's the unassembled hive parts (10 8-Frame medium supers, and 100 Frames of the Grooved Top and Bottom board variety)  Yes, I only needed 80 frames, but if you order 100, it saves you $0.05 (or 5.9%) each.  It looks pretty overwhelming, until you start working on it.  Then you realize it is overwhelming.  ;)


These supers from Brushy Mountain Bee Farm go together with waterproof wood glue and 7D nails, with some help from a rubber mallet. The nail holes are pre-drilled, which makes it much easier to assemble.  Great project for the whole family. Dylan is working on frame assembly, while I assemble the supers.


Get the kids involved, they can help with the hammering:


Twice the speed with two kids hammering!


With the help of Dylan, Max, and Isabel, it doesn't take too long to knock out 5 medium supers and several frames.


Frames hold the comb and hang in the supers.  Since we're using all medium supers, this means all medium frames.  One size frame means they can be used in any super for any purpose (brood, pollen, honey).

Frame assembly is a bit tedious, but it saves $0.50/frame to assemble them yourselves.  Again, glue and nails, bu this time, it's 1-1/4" nails.  Each frame gets 10 nails.

First, set the frame tops (the wider piece grooved side up on your work surface).  Put some waterproof wood glue on the wider end of the frame ends:

Spread it around with a cheap paint brush:

And press it down into the groove of the top bar:

Repeat for the other end:

Then spread glue in the notch at the narrower side of the frame ends to accept the bottom bar:


Insert bottom bar (grooved side down, or on the inside of the frame):

 Now, flip the whole assembly and put 2 of the 1-1/4" nails into each end of the top bar:


Flip it back over and do the same for the bottom bar. Not much room to get two nails into each end (4 total for bottom bar), but you can do it. Guide the nail, as sometimes the wood grain tries to push it where you don't want it to go (like out the side of the frame ends):


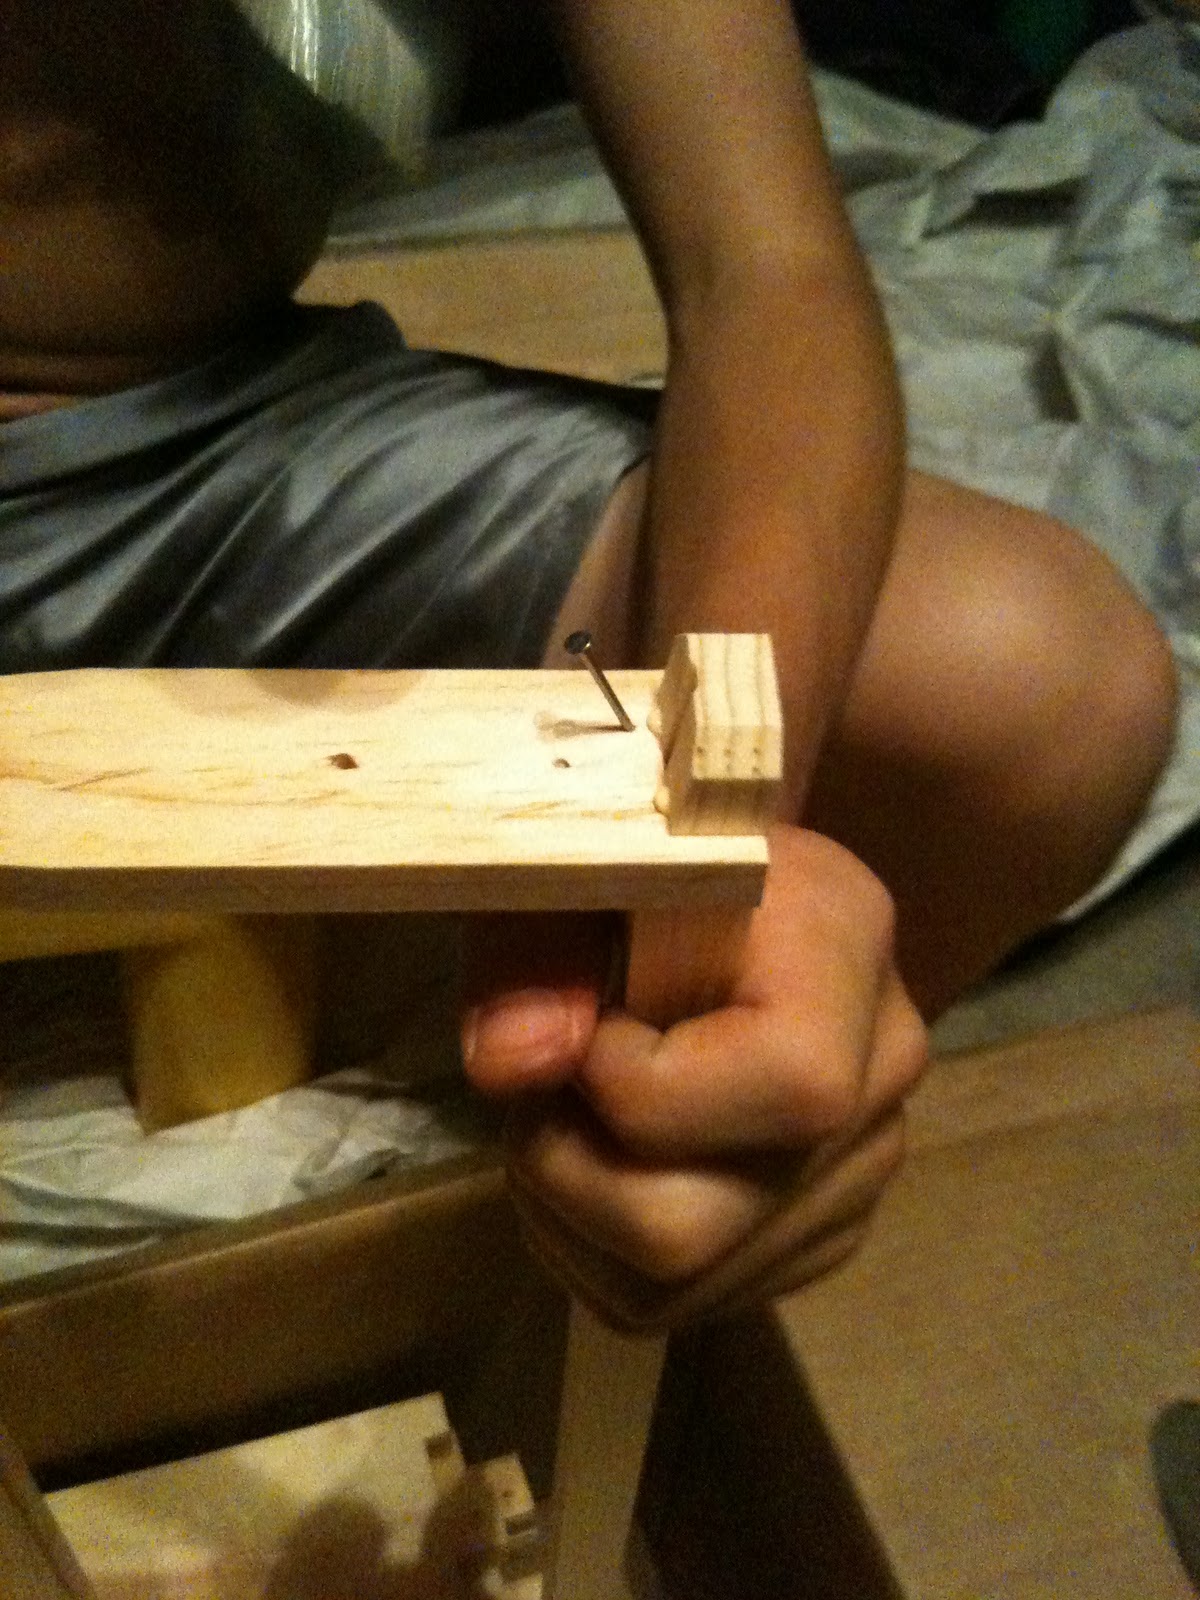
Now for the tricky part, the angled nail from the frame end, into the frame top.  This takes some practice, as we had several bend and go along the top bar, rather than into the top bar.  A nail gun would come in handy for this, but I already ordered the regular nails, and I figured Dylan could use some hammering practice. ;)

Repeat on other side (just one nail in each side):
Then drop them into your super for neat storage.  That seven frames complete, 93 more to go...

As I went along, I found it easier to put 8 frame tops (grooved side up) side-by-side.  Then take 4 frame ends, hold them so the notches lined up, run a bead of glue across the top and bottom notches (spreading with a paint brush), then sticking them on the top bar and adding the bottom bar.  Repeat.  Then go ahead and nail in the bottom bar where they lie. Flip and nail in the top bar.  Then finish off with the angled nails.

Normally, then entire frame is filled with a thin sheet of beeswax imprinted with a comb design (called foundation).  The bees then follow the design and draw out the comb, but this limits them to drawing out comb based on the size of the imprint. Some have theorized that this has allowed the varroa mites to become a problem.  So, there are many believers that the cure is to allow the bees to build their size comb that they see fit, and thus, the foundationless frame method was developed.  Bush Farms has a good write-up on this.

I ultimately went with a small 3.5cm strip of cutcomb foundation (4 strips cut out of a standard, medium cutcomb foundation sheet using a ruler and a pizza cutter) and "Jumbo Craft Sticks".  Put two popsicle sticks under each end of the comb strip, then press two on top.


Put some glue in each end of the grooved top bar, then pick this up and push it into the groove.

That's one, just 99 more to go.

Friday, September 9, 2011

Making Room for the New Recruits

So, with the new chicks now a month old, we needed to make sure there was room on the coop for 10 chickens.  The plastic cabin coop was low on space, since the nest boxes were internal to the cabin.  In addition, since the nest boxes were open topped, they tended to get dirty quickly.  So, we decided to build an external nest box.  We had some spare dog eared fence pickets and 2x4s, so we'd only need to buy some hinges and a lock.  First, a look at why you need a door to your chicken run (which the chickens use when we aren't home and can't let them free range). How did he get in there?  Through the cabin window, just like the chickens.  The window is maybe 18" off the floor, and while you see coops with fancy ladders to help the chickens in and out, ours have no problems just leaping up to the window and hopping in/out.


 And now for the magic trick of getting back out:


Now for the nestbox build pictures.  We based or design off another blog that said when they limited the headroom in the nest boxes, the chicks spent less time in them, and thus, less droppings in the nest boxes:

We attached the 2x4s to the plastic cabin with some "all thread" and nuts and washers, then cut off the extra "all thread":

The frame was then built on site and attached to the 2x4s that were attached to the cabin:


We used cut down fence pickets (1x6) for flooring:


The chickens were hanging out with Maggie, our Lab/Australian Shepherd mix. She doesn't bother them a bit:


Then we added a second level and test the fit of the nest boxes:


Attach the roof and sides:


Built a door:

And voila!  Done:

Wednesday, August 10, 2011

New Recruits Have Arrived!

Since we had gone a month with no further attacks on the chickens, we placed an order for new baby chicks from MyBackyardChicken.com.  We ordered from them, as they allow small orders (based on zipcode).  For our zipcode the minimum order was seven chicks.  These are "day old" chicks, which survive on their yolk sacks during shipping.  You pay a hefty overnight shipping fee (about $35), and they supply no tracking number (correct, no tracking).  Regardless, this morning, they arrived safe and sound at the post office (be prepared for a 6:30am phone call to come pick up your chicks, if you are at the end of the route).  They don't want your chicks riding around in the back of a hot mail truck, and neither do you.

All seven chicks arrived safe and sound.  We ordered a variety based on foraging ability, heritage breed status, egg laying ability, color of eggs, and coolness factor.  We opted for no Meraks Vaccination this time, so we'll see how that goes. We are also NOT using medicated feed with this set.  We ordered a Delaware, a Barred Plymouth Rock, an Australorp, a Golden Laced Wyandotte, a Black Jersey Giant, Silver Cuckoo Maran, and a Welsummer.  We used the PickinChicken App to quickly filter for the traits we wanted.  Yeah, it costs $2.99, but it's a great app.

What's a Heritage Breed?  Well, it's defined by the American Livestock Breed Conservancy (ALBC) and is basically this:
1) It comes from American Poultry Association (APA) stock from prior to the mid 20th century
2) Maintained through natural mating.
3) Long, productive outdoor lifespan.
4) Slow growth rate. This gives time for bone and organ development before muscle mass.

Why a Heritage Breed?  Not genetically engineered.  Better foraging skills and longer egg laying life make these birds are perfect for homesteaders looking to reduce feed inputs.  Buying these breeds keep the breeders producing them, which keeps them from becoming extinct.

We had a rubbermaid container setup as our brooder with a heat lamp, pine shavings, feeder and waterer.  When you first put the chicks in the brooder, you dip their beak in the water, so they know were to find it.  After they got warmed up, they took a brief nap from the long trip, then started eating, drinking and running around.  We weighed all the chicks, which ranged from 27-40grams.  As a project for the kids, we are going to try to weigh them every day to show how fast they grow.

The yellow chick is the Delaware, but will grow into a mostly white bird. She's a heritage breed and has a status of "threatened" (APA since 1962).   It achieved the Slow Food RAFT and Ark of Taste recognition. It's rated as a dual purpose breed (good for meat and eggs, but generally not "great" at either), "good" layer of large, brown eggs, docile temperament, does well in hot and humid or cold climate, does well confined with other chickens, natural forager, but can go broody (wants to hatch eggs).  Broody isn't bad, if you want to hatch eggs.  We don't have a rooster yet, but this would make a natural mother when we get one.

The brown chick is the Welsummer.  She's from the Netherlands, and is thus, not a heritage breed.  She's also a dual purpose breed, good layer of large, brown eggs, docile temperament, does well in colder climates, free range, and is a natural forager.

The black and brown chick is a Golden Laced Wyandotte.  We have a Silver Laced Wyandotte, but we couldn't pass up the Golden variety.  She's a Heritage Breed and listed as "recovering", so she's making a comeback.  APA since 1883.  She's also a dual purpose breed, good layer of large brown eggs, docile, does well confined with other chickens, and happy with free range.

We have four more black chicks that will have to grow more to determine which is which, but I think I have it figured out.

The Barred Plymouth Rock is the black chick with a large white spot on her head, small white dot on her right cheek/corner of beak, a sawtoothed comb, and black beak with white tip.  She's a Heritage Breed in "recovering" status (APA since 1874).  The breed has been awarded the Slow Food RAFT and Ark of Taste recognition.  It's a dual purpose breed, a good layer of large, brown eggs, docile temperament, does well in colder climates, does well on free range, and is known to go broody.

The Australorp is the black chick with a yellow spot in front and behind the eye and has a black beak with a
white tip.  Its a Heritage Breed in "recovering" status (APA since 1929). It's a dual purpose breed, an
excellent layer of large, brown eggs, docile temperament, does well in confinement or free range, and can go broody.

The Black Jersey Giant is the black chick with yellow spots under the eyes with black beak.  It's the largest
chicken breed with hens reaching 10 lbs and when caponized, roosters up to 20 lbs.  It's also a Heritage Breed
in a "watch" status (APA since 1922).  It's a dual purpose breed, but has a poor feed-to-meat ratio--but we had to get this hen just to see how big it gets.  It's a good layer of extra-large eggs, docile, does well in colder climates, does well in confinement or free range, and can go broody.

The Silver Cuckoo Marans is the black chick with a white mohawk shaped spot, no facial markings, sawtoothed
comb, and a white beak with black tip.  It's not a Heritage Breed, but is known for deep chocolate or coppery

temperament, does well in hot and humid or cold climates, does well in confinement or free range, and can go
broody.


Carnage

A few weeks ago, when Dylan was at Summer Camp, we had a "predator event" and lost one of our Rhode Island Reds.  Rest in peace, George.


The predator squeezed in through a crack in the wiring and shredded the poor girl.  I fixed the gap and tightened up all the spots where I thought it was possible to get in.  Well, we went one night without issue, but then the predator struck again.  This time through the top of the yard cage, where it connects to the coop.  This was a weak spot, as the coop is a plastic kids play cabin and not made out of wood--thus, no easy way to attach the coop to the run.  We lost Rex (as in T-Rex), our "Easter Egger" that laid green eggs.


I came up with a solution of "connecting" the run to the coop with non-flexible wood.  It looks like it's just laying there, but it's all screwed together.  It's not pretty, but it's held up.  No further break-ins or deaths.


Dylan came back and set out to kill the killer, which we thought was a raccoon.  After nights of staking out the area from the treehouse I built back in 2006.

He caught a few glimpses of what he thought was a racoon, then one night watched an opossum for about 20 minutes, as it circled one of the traps.  We mistakenly thought that opossums only ate dead things, but in fact, upon further research, they actually also feed on poultry and small mammals.  He looked the killer in the eye for 20 minutes....