Monday, October 3, 2011

Picking up Bee Nucs

So, the normal way to start beekeeping is to order and build your equipment in the winter, take some hands-on classes, then patiently wait for your 3 lbs package bees to arrive sometime in late spring (early spring if you are lucky).  Well, this gives you a slow start, as you've missed alot of the big pollen/nectar season of early spring (Maple trees, for one).  The bees spend most of the nectar on energy to drawing out new comb and feeding the baby bees.

The less traditional manner is to jump right in and order a nuc from late Spring, Summer, to as late as Fall.  A nuc is typically 5 frames of drawn comb with brood, pollen stores, and honey--all covered in bees.  You bring this home and put it in your super with 3 more empty frames for growth, give them sugar water solution to build up some stores for winter.  Some bee farms will sell these as late as early October.  It's a bit of a gamble, but if all goes well, you get a head start on the next season, and you could be harvesting lots of honey the first year.

Bill's Honey Bees of LaFayette, GA, offered to sell me two nucs at a good price and give me a crash course for free!

Sure enough, just after scheduling my nuc pick up, I herniated a disc in my lower back.  Under heavy pain killers and muscle relaxers, I was in no shape to drive.  Luckily, my loving wife was willing to load up the entire family for a 2.5 hr road trip to LaFayette, GA on a Sunday afternoon.

Dylan was a bit surprised at the size of their operation, and it was a bit intimidating at first, but their bees are quite calm.  They just want to do what bees do, and provided you don't try to squash one, they really don't want to sting you.

Here are some pictures from Bill's Honey Bees:


That's me in the veil.  Bill uses no protective gear and was only stung once after pilfering several hives.


Bill holding a frame of bees.  You can put your hand on them and pet them. They don't seem to care a bit.


This is the process to add new (flightless) bees to an existing hive or nuc.  Since they are young, they have no issue switching to a new queen.  With a good hard shake, the young, flightless bees land on the rubber mat on the ground, and the older bees fly off back to their original hive.

Here is what you are left with (a bunch of flightless bees on a rubber mat).  It takes this bunch a bit before they figure out where the nuc box is (smell of beeswax or the queen lures them in).

But once one finds the nuc, she raises her abdomen and fans her wings to spread the scent and the rest follow.

Live action motion:


We also found this bug eating a bee.  Bill had not seen this bug before, so he asked me to take a picture.  After posting on Beesource Forum, I got a quick answer--a Bee Assassin Bug.  Not considered a real threat to the bee population, but occasionally, they get a bee.


My new hives, positioned for early morning sun:


First morning out, and they've already found the basil in our garden and are bringing in pollen from our neighbors flowers:

Sunday, October 2, 2011

Ultra Breeze Bee Suit

My Ultra Breeze Bee Suit arrived today (well, a few days ago, but I caught a few photos of my son trying out the gear--yeah, you can rap in them). This sort of reminded me of the hampsters in the Kia Soul commercial.


See the resemblance?    He is in the XL sized suit, which fits me, but swallows him up.


Overall, a very well made suit and easy to work in.

Saturday, September 24, 2011

Bee Equipment Has Arrived

Well, after reading several beekeeping books and Linda's Bees Blog, I took the plunge and ordered our bee equipment based on her recommendations from Brushy Mountain Bee Farm.  All medium 8-Frame equipment and enough for 2 hives, 5 supers tall.  The only difference is that I ordered top and bottom grooved frames, since I plan on going with the minimalist approach of just using a starter strip of wax, rather than using an entire wax foundation.  This allows the bees to build the size comb cells that they want to build, rather than have us dictate the size to the bees. Allowing the bees to build smaller brood cells is supposed to reduce the varroa (bee mites) problem.

Now let me back track a bit for those of you not familiar with beekeeping.

Supers are the levels of the hive.  Traditionally, they use deep supers for the lower brood sections.  Then there are medium (depth) supers and shallow supers for honey.  This is great, but makes it hard to interchange parts, which ultimately means you have to have more spare equipment on hand.  By using all medium supers, this means less overall cost.

Here's the unassembled hive parts (10 8-Frame medium supers, and 100 Frames of the Grooved Top and Bottom board variety)  Yes, I only needed 80 frames, but if you order 100, it saves you $0.05 (or 5.9%) each.  It looks pretty overwhelming, until you start working on it.  Then you realize it is overwhelming.  ;)


These supers from Brushy Mountain Bee Farm go together with waterproof wood glue and 7D nails, with some help from a rubber mallet. The nail holes are pre-drilled, which makes it much easier to assemble.  Great project for the whole family. Dylan is working on frame assembly, while I assemble the supers.


Get the kids involved, they can help with the hammering:


Twice the speed with two kids hammering!


With the help of Dylan, Max, and Isabel, it doesn't take too long to knock out 5 medium supers and several frames.


Frames hold the comb and hang in the supers.  Since we're using all medium supers, this means all medium frames.  One size frame means they can be used in any super for any purpose (brood, pollen, honey).

Frame assembly is a bit tedious, but it saves $0.50/frame to assemble them yourselves.  Again, glue and nails, bu this time, it's 1-1/4" nails.  Each frame gets 10 nails.

First, set the frame tops (the wider piece grooved side up on your work surface).  Put some waterproof wood glue on the wider end of the frame ends:

Spread it around with a cheap paint brush:

And press it down into the groove of the top bar:

Repeat for the other end:

Then spread glue in the notch at the narrower side of the frame ends to accept the bottom bar:


Insert bottom bar (grooved side down, or on the inside of the frame):

 Now, flip the whole assembly and put 2 of the 1-1/4" nails into each end of the top bar:


Flip it back over and do the same for the bottom bar. Not much room to get two nails into each end (4 total for bottom bar), but you can do it. Guide the nail, as sometimes the wood grain tries to push it where you don't want it to go (like out the side of the frame ends):


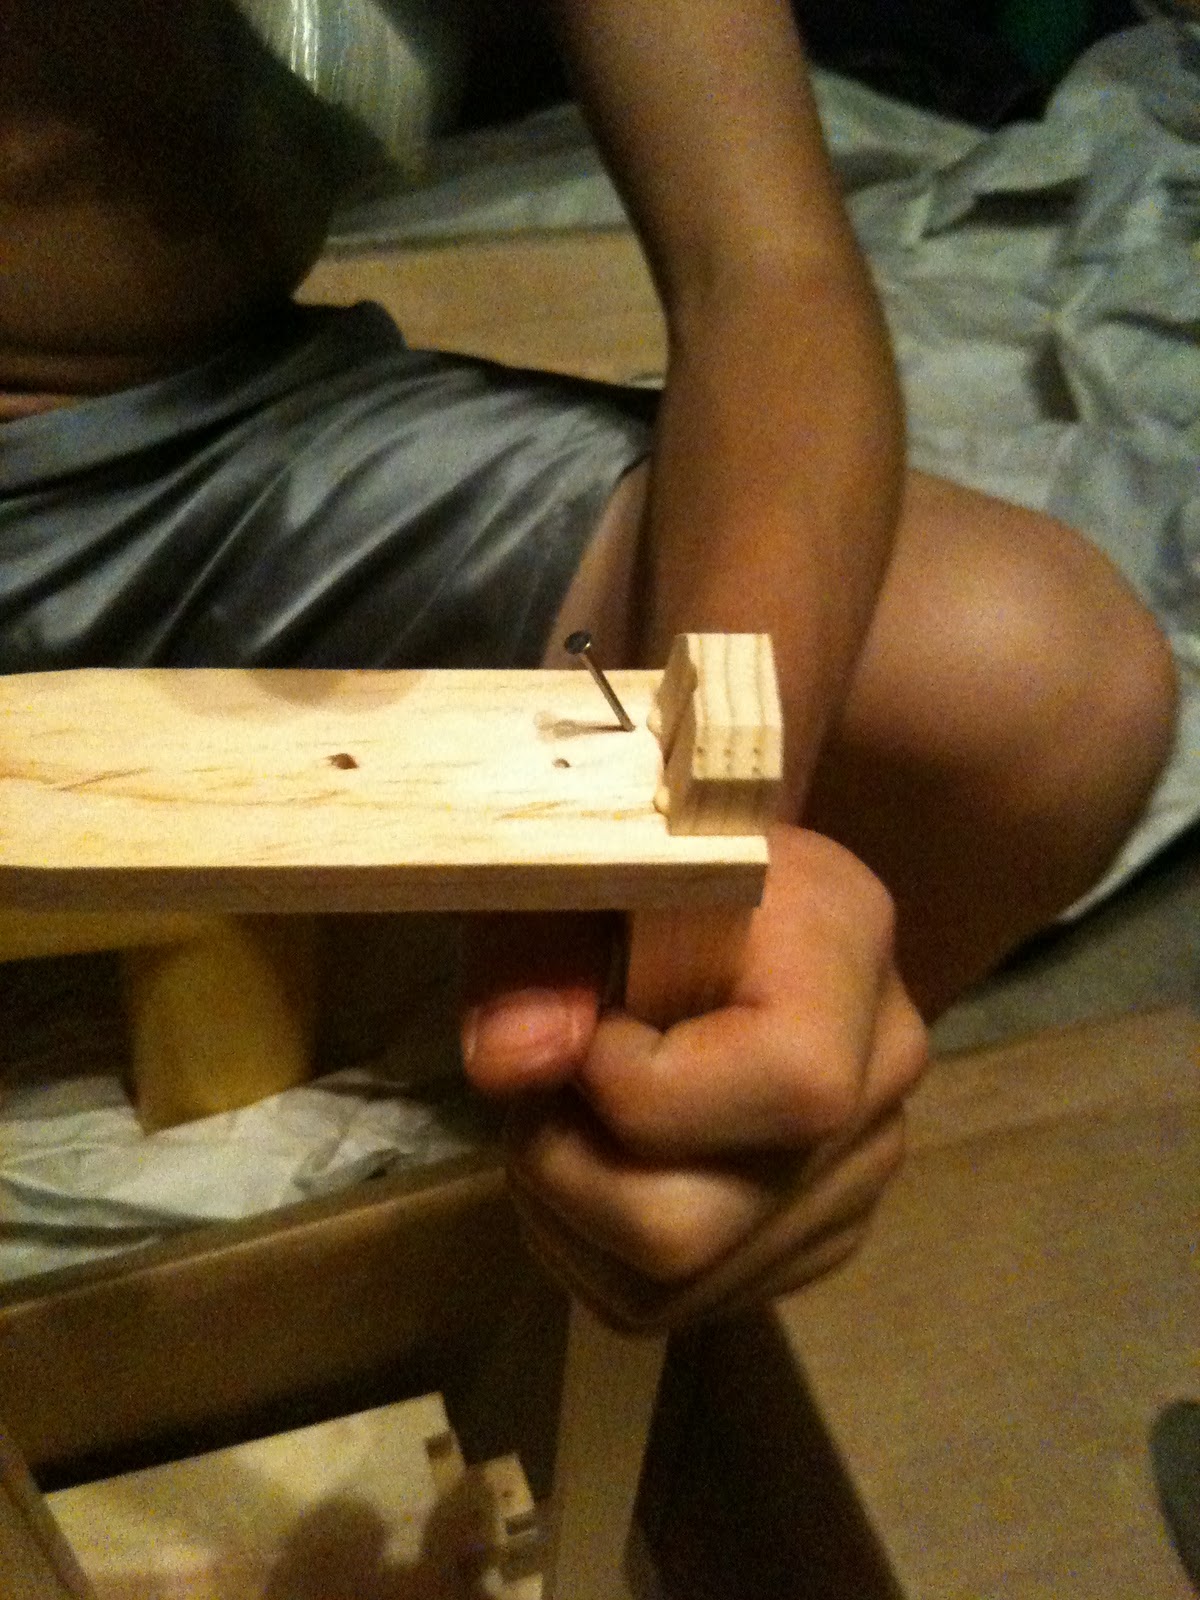
Now for the tricky part, the angled nail from the frame end, into the frame top.  This takes some practice, as we had several bend and go along the top bar, rather than into the top bar.  A nail gun would come in handy for this, but I already ordered the regular nails, and I figured Dylan could use some hammering practice. ;)

Repeat on other side (just one nail in each side):

Then drop them into your super for neat storage.  That seven frames complete, 93 more to go...

As I went along, I found it easier to put 8 frame tops (grooved side up) side-by-side.  Then take 4 frame ends, hold them so the notches lined up, run a bead of glue across the top and bottom notches (spreading with a paint brush), then sticking them on the top bar and adding the bottom bar.  Repeat.  Then go ahead and nail in the bottom bar where they lie. Flip and nail in the top bar.  Then finish off with the angled nails.

Normally, then entire frame is filled with a thin sheet of beeswax imprinted with a comb design (called foundation).  The bees then follow the design and draw out the comb, but this limits them to drawing out comb based on the size of the imprint. Some have theorized that this has allowed the varroa mites to become a problem.  So, there are many believers that the cure is to allow the bees to build their size comb that they see fit, and thus, the foundationless frame method was developed.  Bush Farms has a good write-up on this.

I ultimately went with a small 3.5cm strip of cutcomb foundation (4 strips cut out of a standard, medium cutcomb foundation sheet using a ruler and a pizza cutter) and "Jumbo Craft Sticks".  Put two popsicle sticks under each end of the comb strip, then press two on top.


Put some glue in each end of the grooved top bar, then pick this up and push it into the groove.

That's one, just 99 more to go.

Friday, September 9, 2011

Making Room for the New Recruits

So, with the new chicks now a month old, we needed to make sure there was room on the coop for 10 chickens.  The plastic cabin coop was low on space, since the nest boxes were internal to the cabin.  In addition, since the nest boxes were open topped, they tended to get dirty quickly.  So, we decided to build an external nest box.  We had some spare dog eared fence pickets and 2x4s, so we'd only need to buy some hinges and a lock.  First, a look at why you need a door to your chicken run (which the chickens use when we aren't home and can't let them free range). How did he get in there?  Through the cabin window, just like the chickens.  The window is maybe 18" off the floor, and while you see coops with fancy ladders to help the chickens in and out, ours have no problems just leaping up to the window and hopping in/out.


 And now for the magic trick of getting back out:


Now for the nestbox build pictures.  We based or design off another blog that said when they limited the headroom in the nest boxes, the chicks spent less time in them, and thus, less droppings in the nest boxes:

We attached the 2x4s to the plastic cabin with some "all thread" and nuts and washers, then cut off the extra "all thread":

The frame was then built on site and attached to the 2x4s that were attached to the cabin:


We used cut down fence pickets (1x6) for flooring:


The chickens were hanging out with Maggie, our Lab/Australian Shepherd mix. She doesn't bother them a bit:


Then we added a second level and test the fit of the nest boxes:


Attach the roof and sides:


Built a door:

And voila!  Done: