Well, after reading several beekeeping books and Linda's Bees Blog, I took the plunge and ordered our bee equipment based on her recommendations from Brushy Mountain Bee Farm. All medium 8-Frame equipment and enough for 2 hives, 5 supers tall. The only difference is that I ordered top and bottom grooved frames, since I plan on going with the minimalist approach of just using a starter strip of wax, rather than using an entire wax foundation. This allows the bees to build the size comb cells that they want to build, rather than have us dictate the size to the bees. Allowing the bees to build smaller brood cells is supposed to reduce the varroa (bee mites) problem.
Now let me back track a bit for those of you not familiar with beekeeping.
Supers are the levels of the hive. Traditionally, they use deep supers for the lower brood sections. Then there are medium (depth) supers and shallow supers for honey. This is great, but makes it hard to interchange parts, which ultimately means you have to have more spare equipment on hand. By using all medium supers, this means less overall cost.
Here's the unassembled hive parts (10 8-Frame medium supers, and 100 Frames of the Grooved Top and Bottom board variety) Yes, I only needed 80 frames, but if you order 100, it saves you $0.05 (or 5.9%) each. It looks pretty overwhelming, until you start working on it. Then you realize it is overwhelming. ;)

These supers from Brushy Mountain Bee Farm go together with waterproof wood glue and 7D nails, with some help from a rubber mallet. The nail holes are pre-drilled, which makes it much easier to assemble. Great project for the whole family. Dylan is working on frame assembly, while I assemble the supers.


Frames hold the comb and hang in the supers. Since we're using all medium supers, this means all medium frames. One size frame means they can be used in any super for any purpose (brood, pollen, honey).
Frame assembly is a bit tedious, but it saves $0.50/frame to assemble them yourselves. Again, glue and nails, bu this time, it's 1-1/4" nails. Each frame gets 10 nails.
First, set the frame tops (the wider piece grooved side up on your work surface). Put some waterproof wood glue on the wider end of the frame ends:

Spread it around with a cheap paint brush:

And press it down into the groove of the top bar:

Repeat for the other end:

Then spread glue in the notch at the narrower side of the frame ends to accept the bottom bar:


Insert bottom bar (grooved side down, or on the inside of the frame):


Flip it back over and do the same for the bottom bar. Not much room to get two nails into each end (4 total for bottom bar), but you can do it. Guide the nail, as sometimes the wood grain tries to push it where you don't want it to go (like out the side of the frame ends):


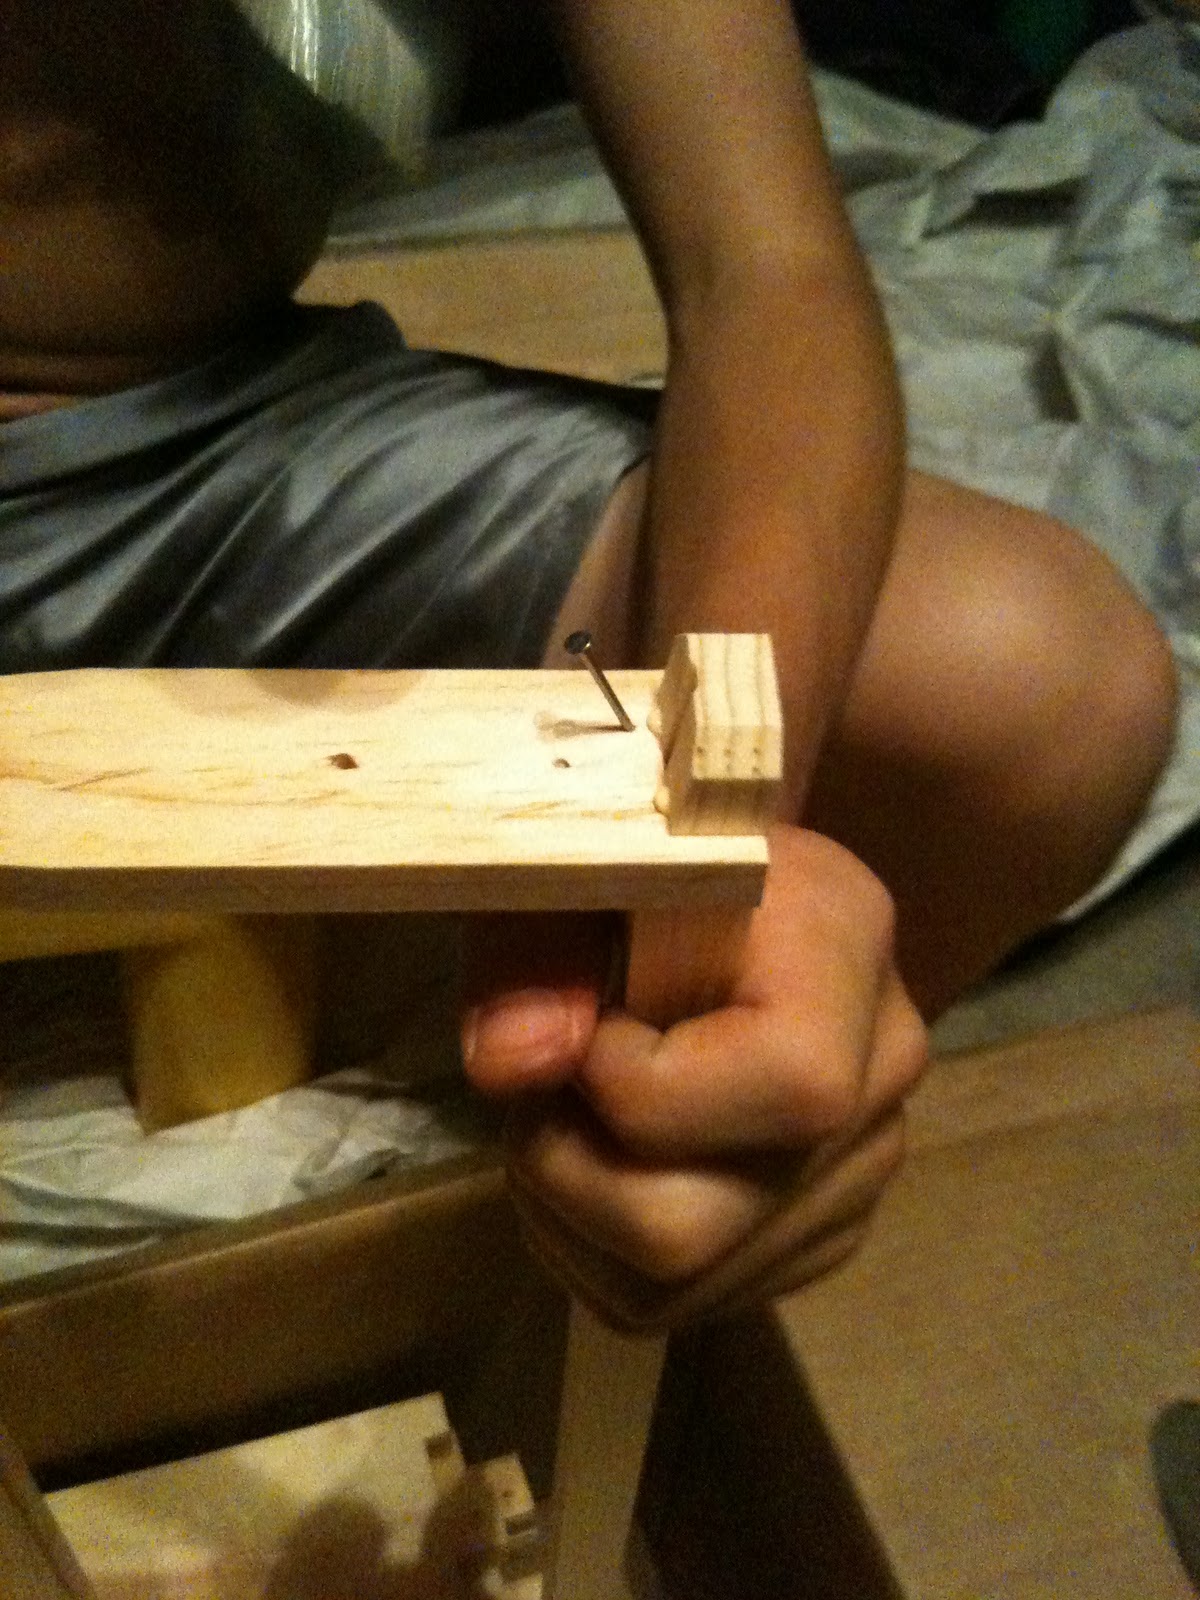
Now for the tricky part, the angled nail from the frame end, into the frame top. This takes some practice, as we had several bend and go along the top bar, rather than into the top bar. A nail gun would come in handy for this, but I already ordered the regular nails, and I figured Dylan could use some hammering practice. ;)

Repeat on other side (just one nail in each side):
Then drop them into your super for neat storage. That seven frames complete, 93 more to go...

As I went along, I found it easier to put 8 frame tops (grooved side up) side-by-side. Then take 4 frame ends, hold them so the notches lined up, run a bead of glue across the top and bottom notches (spreading with a paint brush), then sticking them on the top bar and adding the bottom bar. Repeat. Then go ahead and nail in the bottom bar where they lie. Flip and nail in the top bar. Then finish off with the angled nails.
Normally, then entire frame is filled with a thin sheet of beeswax imprinted with a comb design (called foundation). The bees then follow the design and draw out the comb, but this limits them to drawing out comb based on the size of the imprint. Some have theorized that this has allowed the varroa mites to become a problem. So, there are many believers that the cure is to allow the bees to build their size comb that they see fit, and thus, the foundationless frame method was developed. Bush Farms has a good write-up on this.
I ultimately went with a small 3.5cm strip of cutcomb foundation (4 strips cut out of a standard, medium cutcomb foundation sheet using a ruler and a pizza cutter) and "Jumbo Craft Sticks". Put two popsicle sticks under each end of the comb strip, then press two on top.

Put some glue in each end of the grooved top bar, then pick this up and push it into the groove.


